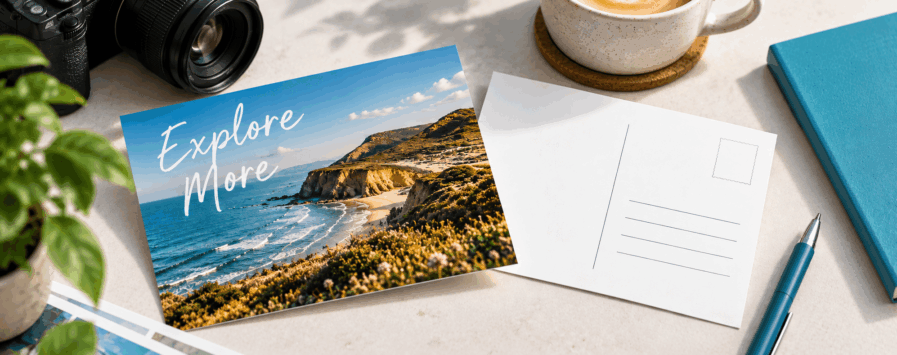
How to Design a Postcard for Print: Photos, Layout & Artwork Tips
Designing a postcard sounds simple enough. You’ve got a front, a back and not a huge amount of space to work with.
That’s also what makes getting the design right so important.
Whether you’re turning one of your own photos into a postcard, creating something for your business or putting together a piece of direct mail, what looks good on screen still needs to work once it’s printed.
Things like image quality, text sitting too close to the edge and trying to fit too much onto the card can all affect the finished result.
So, if you’re making your own postcard, it’s worth getting a few things right before you send the artwork to print.
Already decided what your postcard will look like but unsure which format you need? Our postcard size guide covers the different options separately.
Start With What Your Postcard Is For
Before getting too far into the design, think about what someone actually needs to get from the postcard.
If you’re creating a postcard from a favourite photo, you’ll probably want the image to take centre stage. If it’s promoting an event, restaurant or business, there’s usually more information competing for the space.
You don’t need to squeeze everything onto the front.
A strong image or short message can do most of the work there, with the reverse giving you room for the details, contact information or anything else people need to know.
If you’re using one of your own photographs, start with the best-quality original you have. A photo can look perfectly sharp on your phone and still struggle once printed, particularly if it has been screenshotted, downloaded from social media or heavily cropped.
Where possible, use the original image straight from the camera or phone rather than a compressed copy.
It’s also worth looking at what sits around the edges. If someone’s face, a logo or another important part of the image is right against the edge, there may not be enough room for trimming and bleed.
And remember, a photograph doesn’t have to fill the whole card. Sometimes leaving a little clear space for a short line of text or your branding gives the design a much cleaner finish.

Think About the Front and Reverse as One Design
The front of a postcard usually has one main job: get somebody to look at it.
That might be through a photograph, illustration, bold piece of artwork or a simple headline. Trying to put every bit of information on the front can make it feel busy very quickly.
The reverse gives you more space to work with.
For a promotional postcard, that might include a short message, website, contact details or an offer. If the postcard is going through the post, you’ll also need to leave enough clear space for the recipient’s address and postage.
If it’s being handed out rather than mailed, you have a little more freedom with the reverse and can use it for extra information.
The important bit is that both sides feel connected rather than looking like two completely separate designs.
Make Sure the Artwork Will Actually Print Well
This is where a postcard that looks fine on screen can sometimes catch you out.
Backgrounds and images that are meant to run right to the edge need to extend slightly beyond the trim line. That extra area is bleed.
At the same time, keep important text, logos and faces comfortably inside the finished edge so there’s a little tolerance when the card is trimmed.
Text size matters too. If you find yourself making everything smaller just to fit another sentence in, it’s usually a sign there’s too much on the card.
A short headline and a few useful details will normally work better than filling every available gap.
Contrast is worth checking as well. Light text over a busy photograph might look fine while you’re zoomed in on screen, but it can become much harder to read at actual postcard size.
For images, aim for around 300dpi at the size they’ll be printed where possible. Simply changing a low-resolution image to say 300dpi won’t magically add detail that wasn’t there in the first place.
Colour can shift slightly too. Screens use RGB light while commercial print normally uses CMYK inks, so very bright colours on screen can sometimes look a little different once printed.
You don’t need to become a colour expert to design a postcard. Just avoid relying too heavily on extremely bright screen colours and use a print-friendly colour setup if your design software gives you the option.
Give It One Last Check Before Exporting
Before you save the final artwork, check the obvious things.
Spelling, phone numbers, web addresses, dates and prices are all worth checking twice. Make sure any important information is comfortably inside the trim area and that both sides look balanced.
A print-ready PDF is usually the safest file to supply, especially when the design includes text, logos and different elements.
If your software gives you the option to include bleed when exporting, make sure it’s switched on where needed.
You don’t normally need to add printer marks or arrange anything manually unless you’ve specifically been asked to. The main thing is supplying clean artwork at the right quality with the design exactly as you want it to appear.

Keep It Simple
A good postcard doesn’t need to be complicated.
Start with the purpose, choose one strong focal point and make sure the important information is easy to find.
If you’re using your own photo, give it room to work. If it’s a promotional postcard, resist the urge to fill every bit of space.
Once your artwork is ready, you can explore our postcard printing options and upload your finished design.
And if you’re still deciding which format to start with, our postcard size guide covers that separately.